Advanced Usage
Document Mail Queue Manager
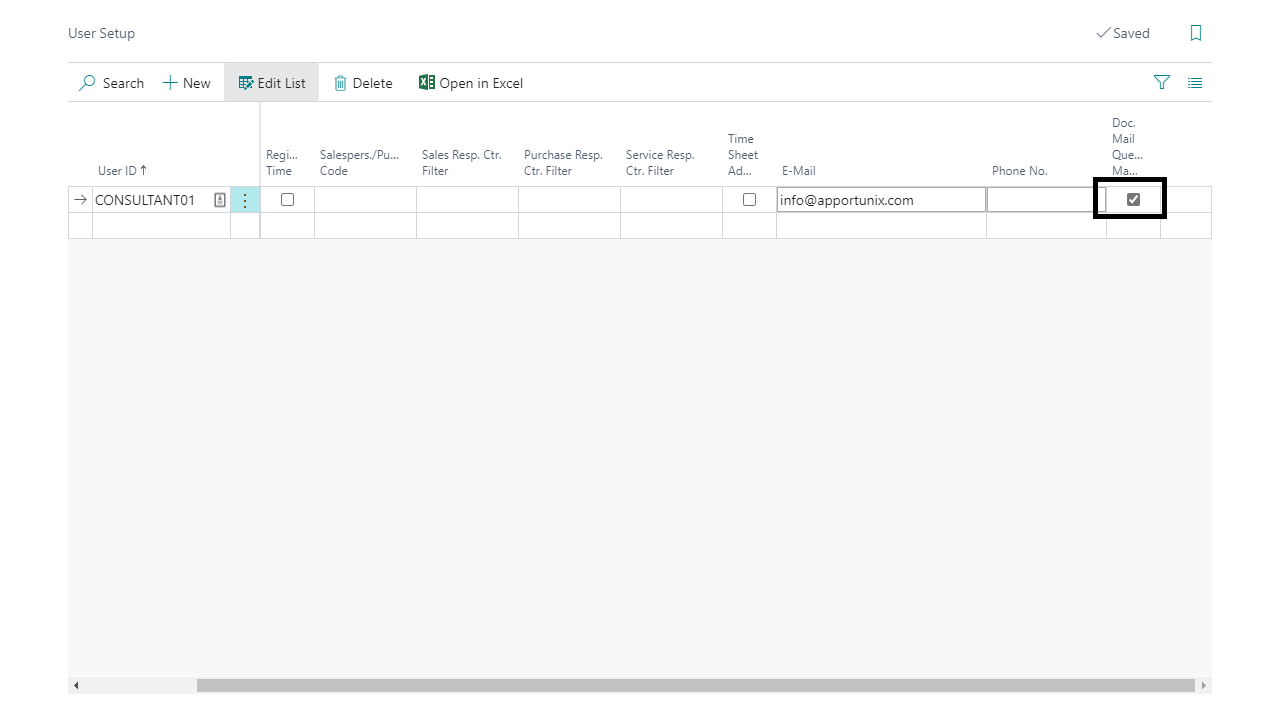
By default, the Document Mail Queue entries which are visible in the Document Mail Queue, are the entries created with your own user account. If you enable the Document Mail Queue Manager checkbox in the User Setup you can see all the entries created by all the users in the Document Mail Queue. This set up is designed for the user(s) who manages the Document Mail Queue.
-
Navigate to the User Setup
-
Set the Doc. Mail Queue Manager checkbox to Yes for the assigned user
Document Mail Queue Status
A Document Mail Queue entry always has a Status. The statuses are normally set by the process. The statuses Document Mail Queue uses are:
-
New The entry is created by posting a document and not yet processed by the Document Mail Queue
-
Sent The entry is successfully processed by the Document Mail Queue
-
Error The entry is processed by the Document Mail Queue but not sent due to an error. The error is displayed in the Document Mail Queue. After correcting the error, you can process the entry again.
-
On Hold You can manually set this status. The entry will not be processed in this status. ou can use this status to check the entry before processing. If you want to process the entry again you need to set the status to New again
-
Canceled You can manually set this status. The entry will not be processed in this status. Use this status for entry you don’t want to process anymore
-
Sent Direct After you use Post and Send for a document, an entry is created for the sent document. This entry is used for logging purposes.
The statuses are indicated by the Doc. Mail Queue Status Pictures.
Note
The action Process Queue (Filtered) will only process the statuses New and Error within the filtered view set by the user
Send Attachments
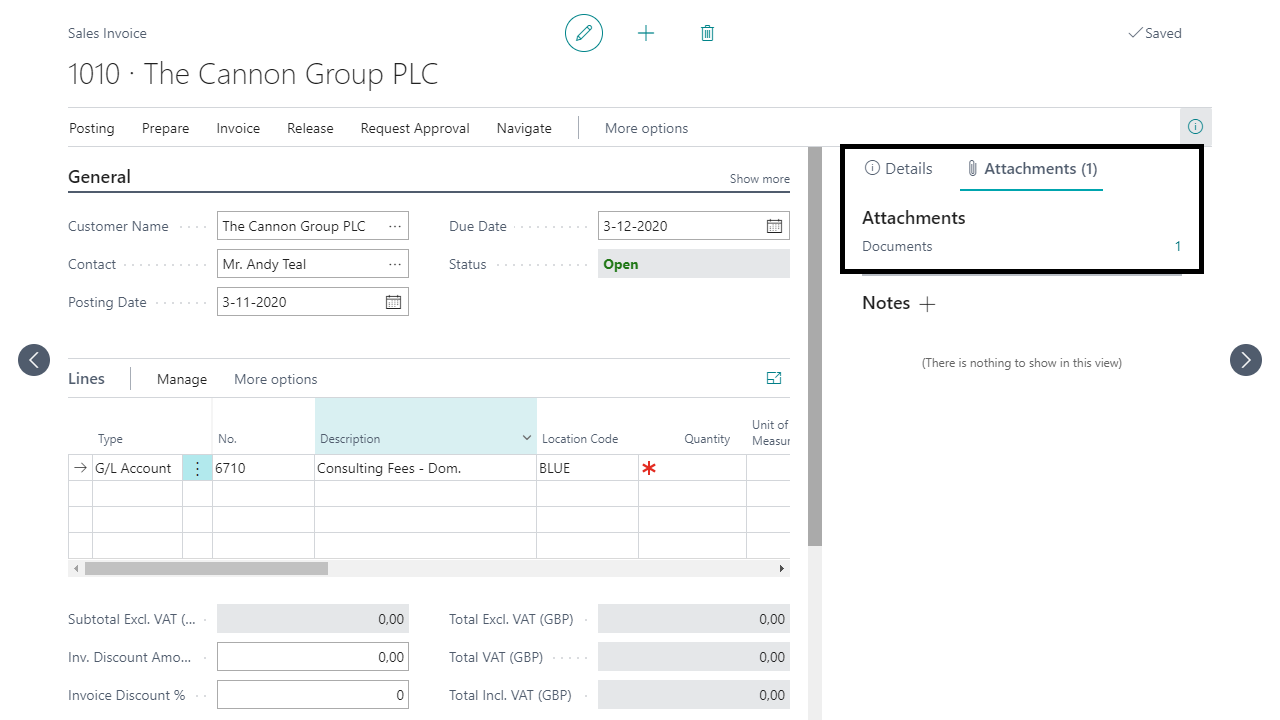
With the Document Mail Queue, it is possible to send attachments linked to the source document with the mail when processing the entry. The attachment is added to the source document with the standard functionality of Business Central.
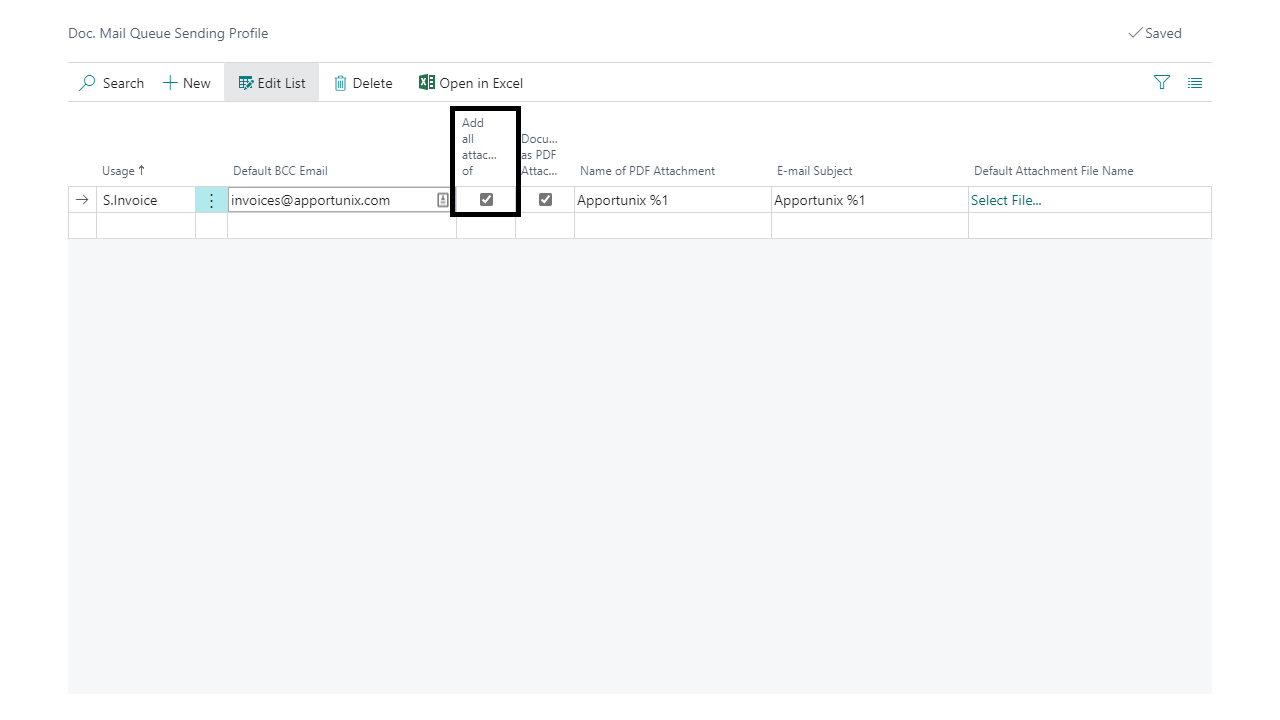
To send these attachments you need to set up the Doc. Mail Queue Sending Profile line from the Document Sending Profile.
-
Enable the Add all attachments of Source Document setting in the corresponding Doc. Mail Queue Sending Profile record.
The attachments are visible in the Document Mail Queue entry in the factbox Doc. Attachments
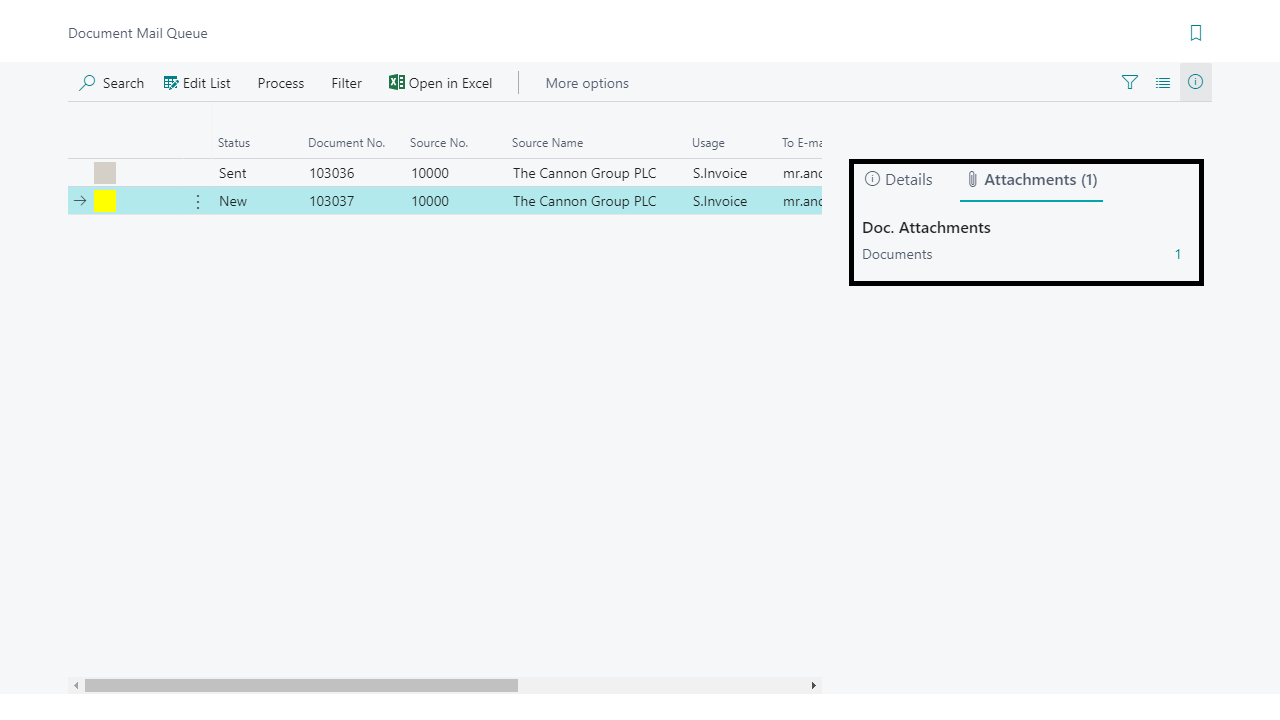
When the entry is processed by the Document Mail Queue the attachments are sent with the mail.
Note
Changes in the attachments (adding or deleting) will result in changes on the posted source document!
Document Mail Queue Log
The Document Mail Queue also works a log of all the entries sent by the Document Mail Queue.
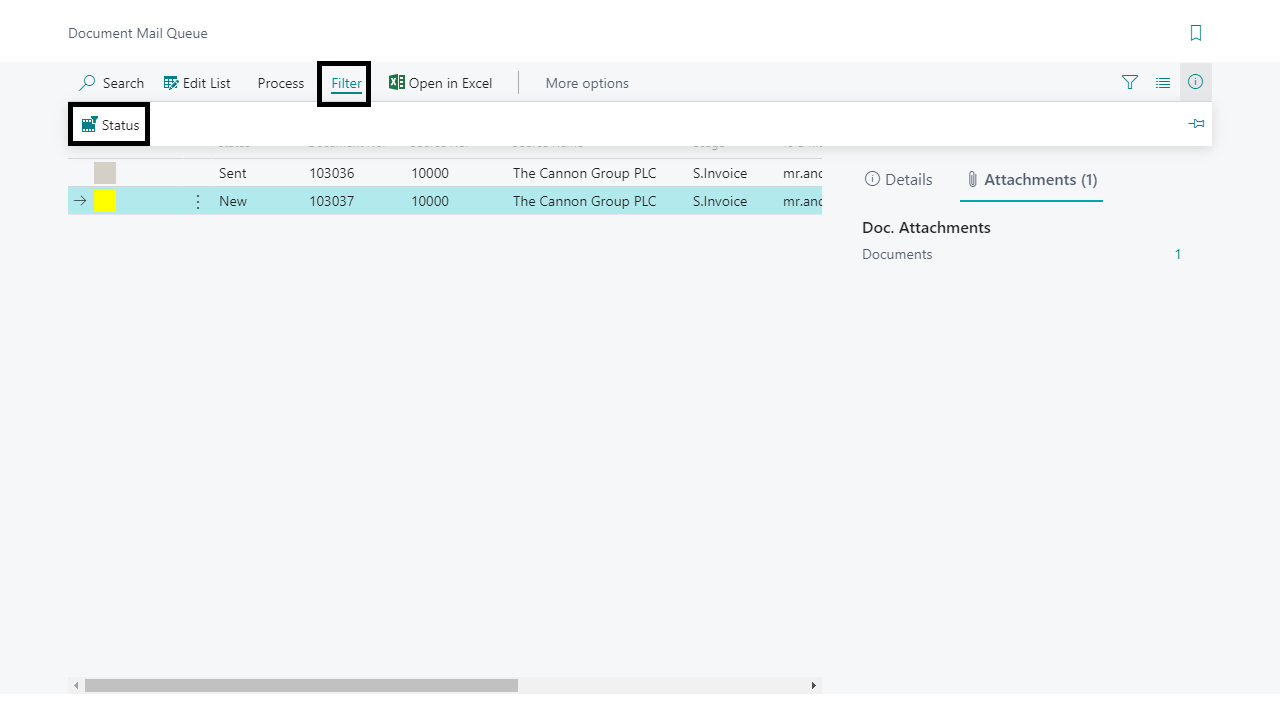
By default, all the entries of the Document Mail Queue are visible. By using the status filter with the Filter | Status filter from the ribbon only the entries with the Status New, Error or On Hold are visible.
These are the entries needed of any action.
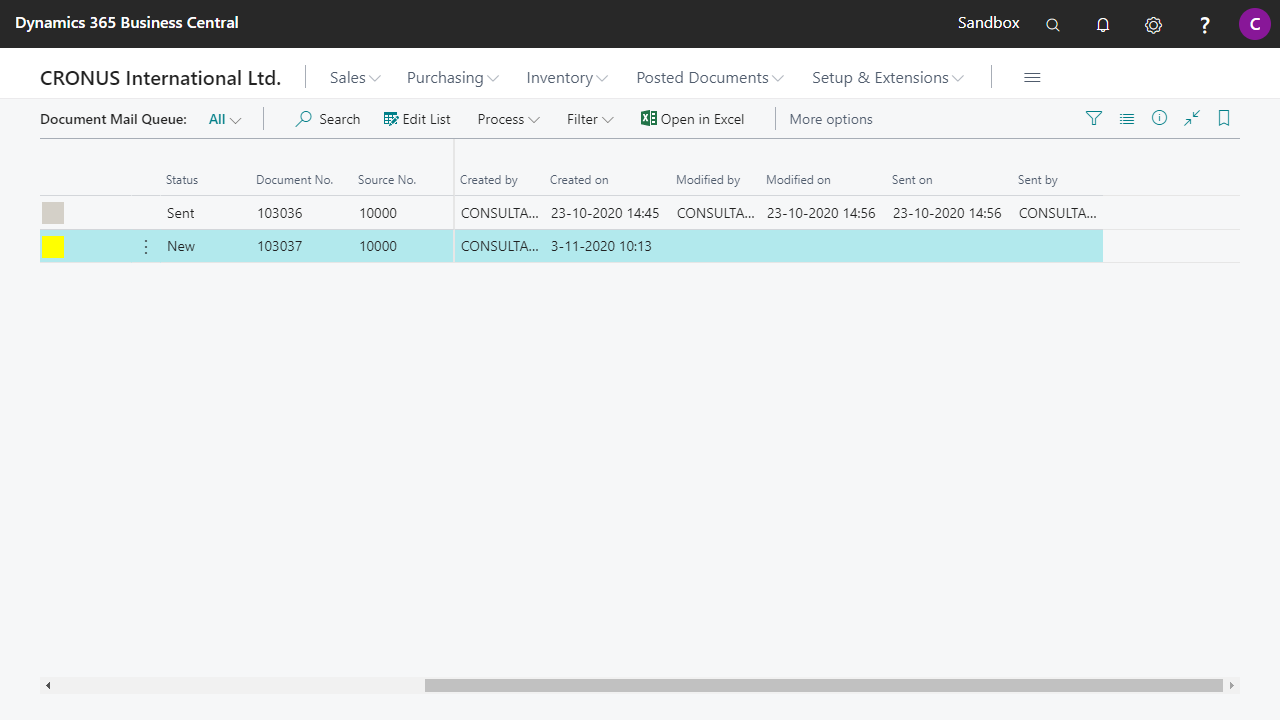
In the Document Mail Queue entry, the log-details of the entry are registered like Created On & Created By, Modified On & Modified By, Sent On & Sent By.
E-mail Relation
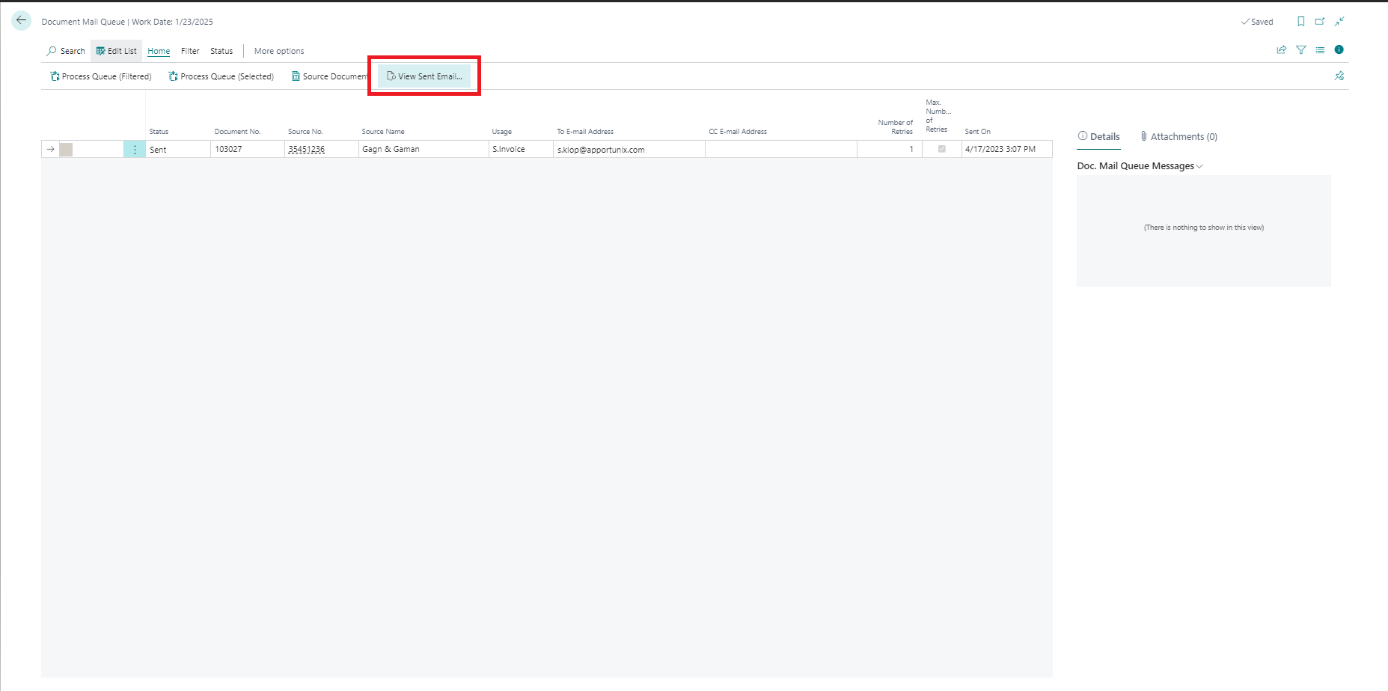
View Sent Email
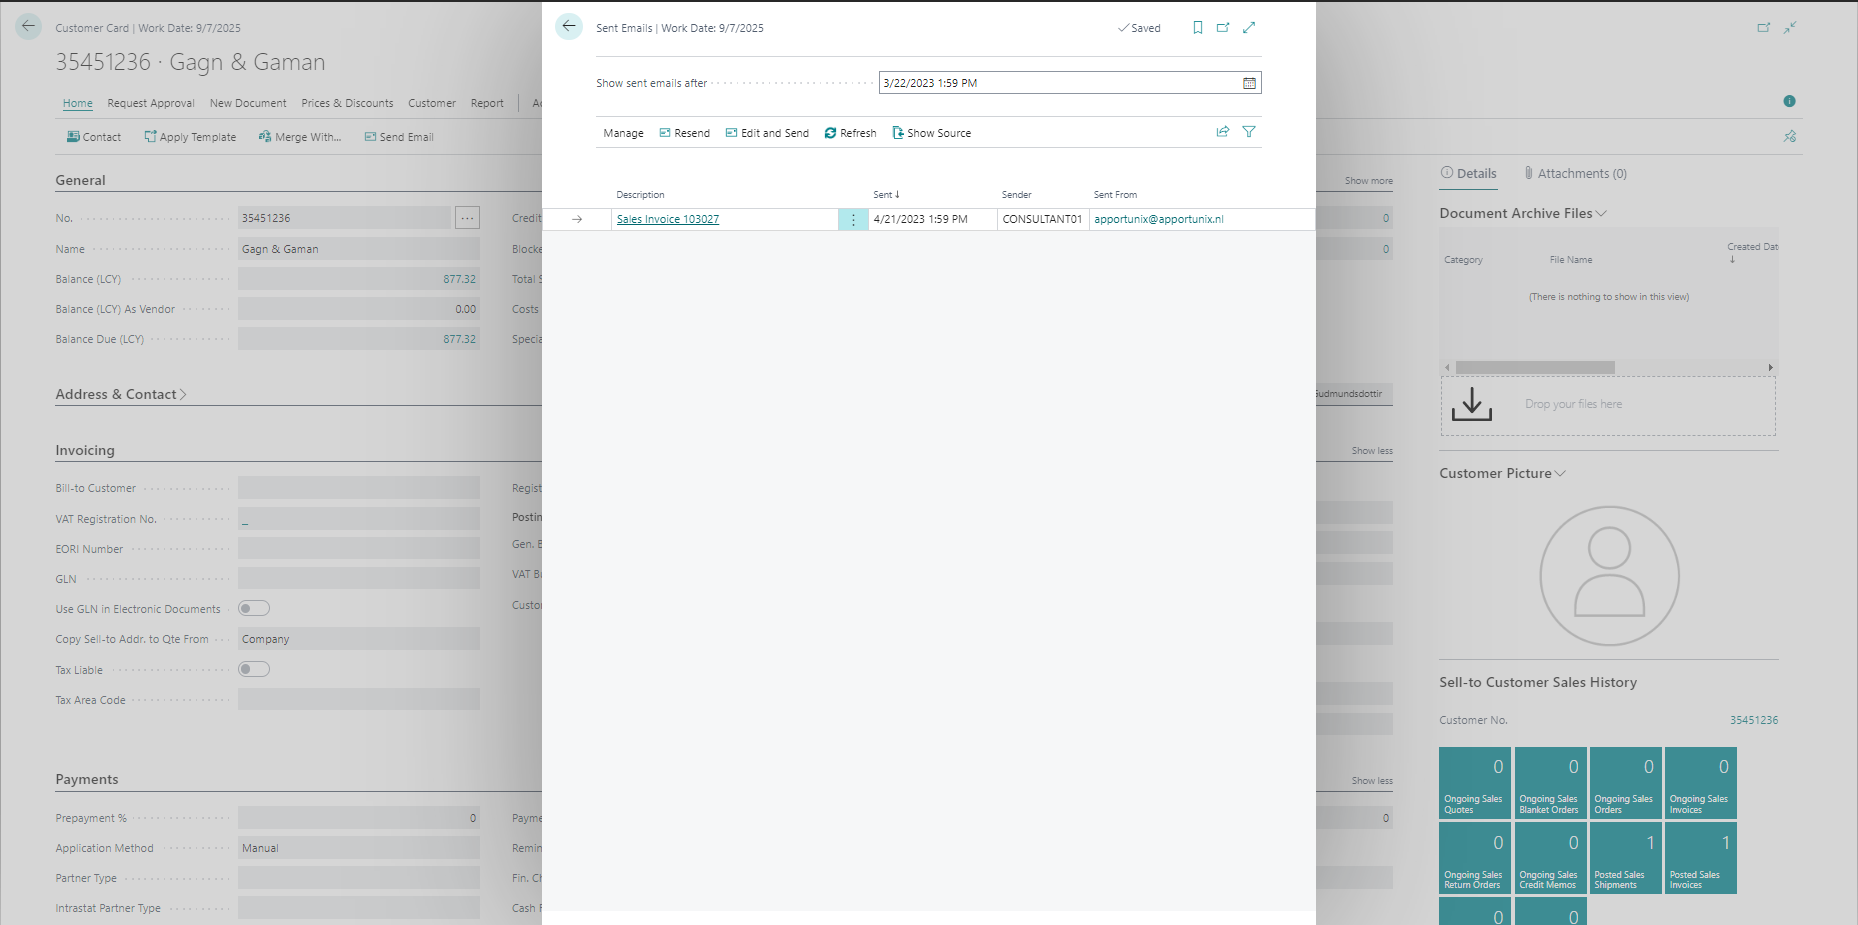
With the View Sent Email… function you view the email that was sent through this entity.
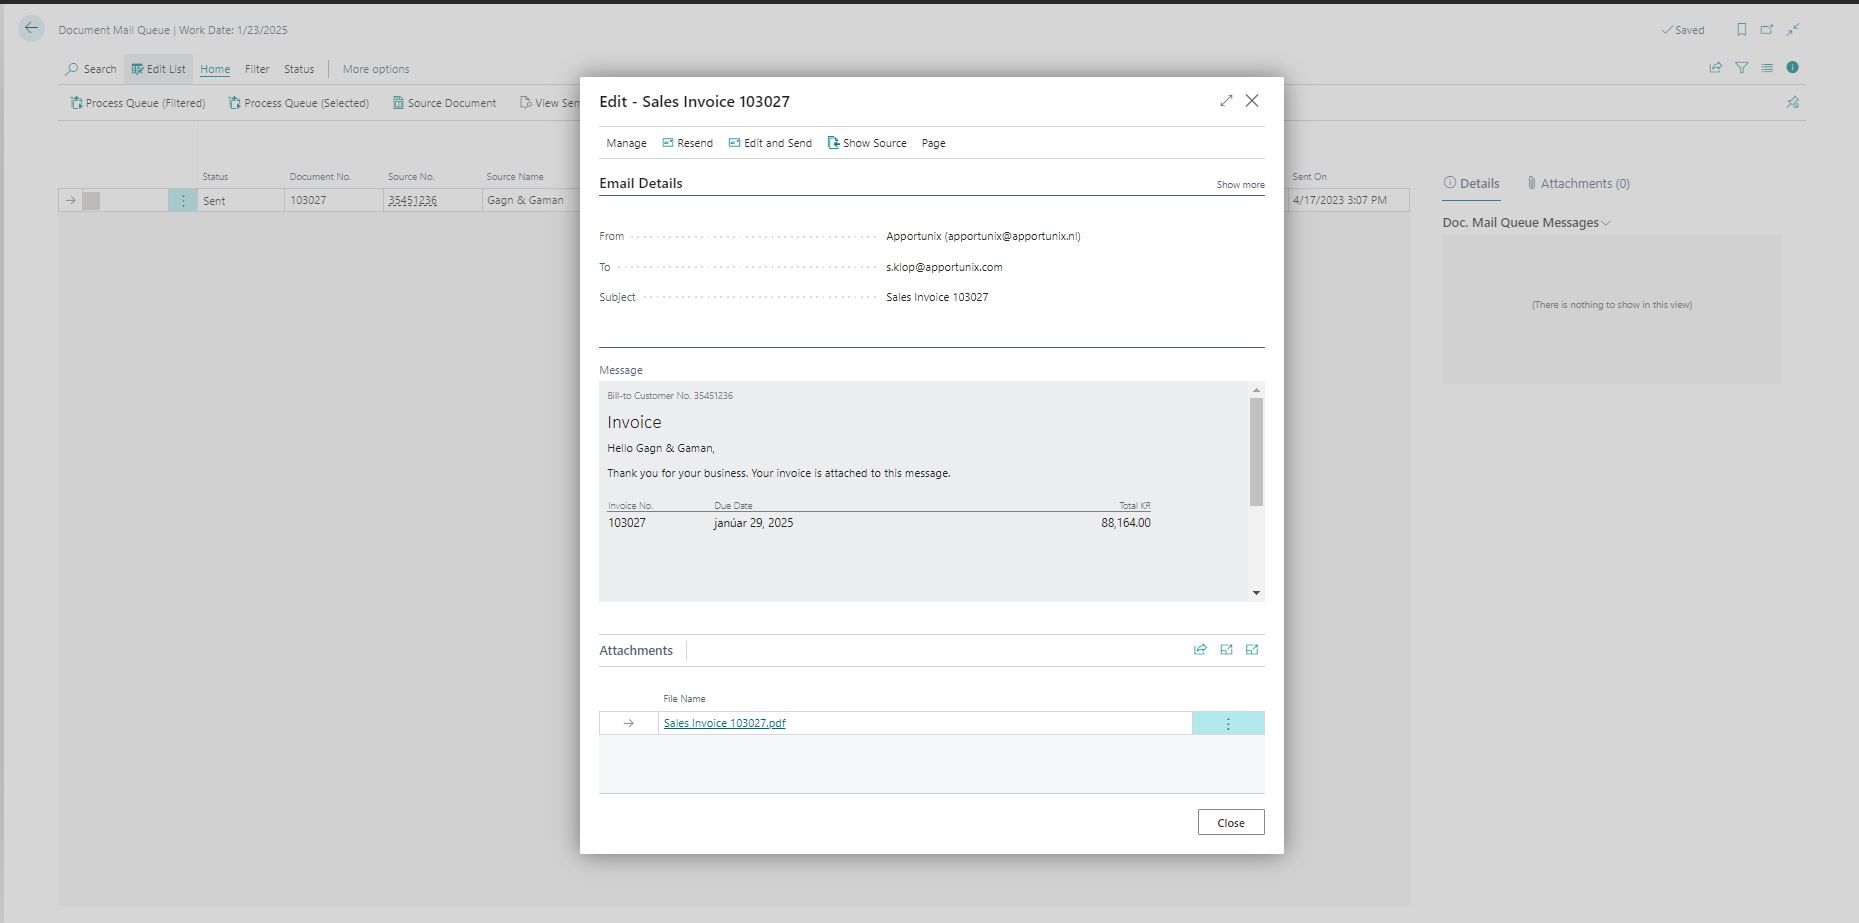
Document Mail Queue now adds an E-mail Relation between a Document Mail Queue record and a Sent Email.
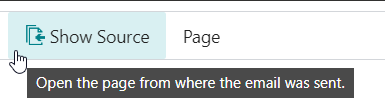
You can also check this link by using the View Source button in the Email Viewer page
Sent Emails
The Sent Emails page of the Customer and Vendor also includes the mails sent with the Document Mail Queue including a link to Document Mail Queue records as primary source.
Note
The link to Send Emails only applies to mails sent from the Document Mail Queue after version 1.44.0.0
To E-mail Address
The e-mail address used as To-E-mail Address in the Document Mail Queue entry is determined by the business rules of Business Central and follow the ranking specified below. Here is the first rank leading and if there is no e-mail address present in this rank, the next rank applies. These rules also apply as well for the CC Email.
- Document
- Customer Document Lay-out
- Customer
If no e-mail is provided it is possible to enter the e-mail address manually in the Document Mail Queue.
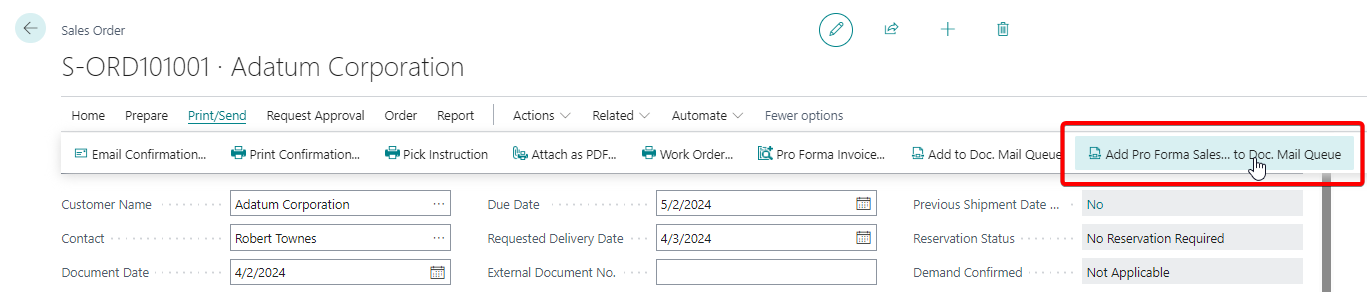
Process additional report options
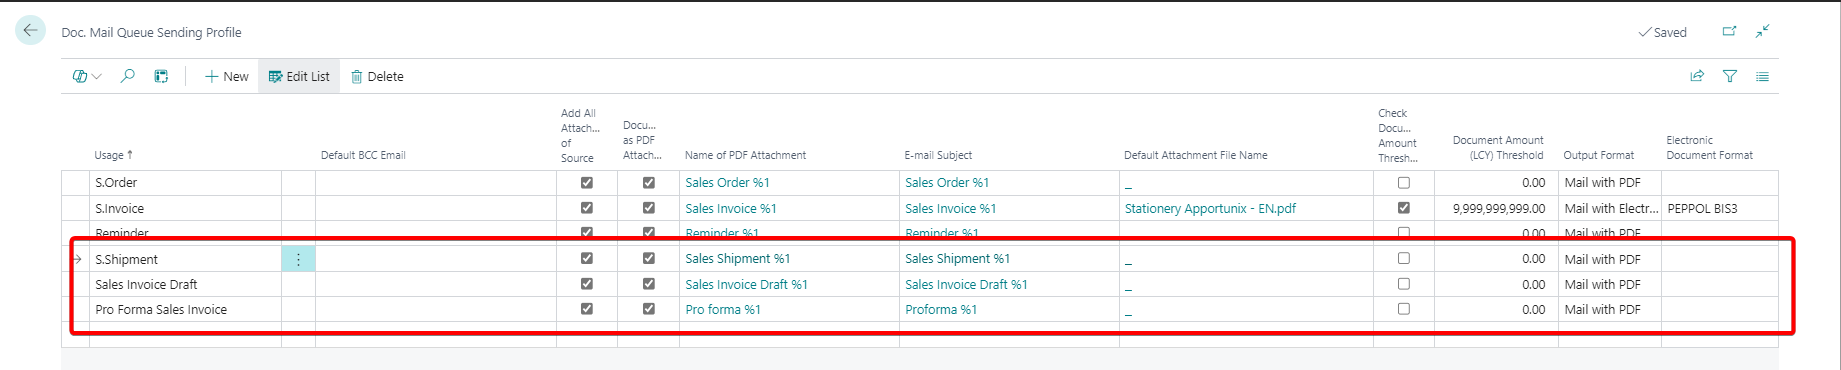
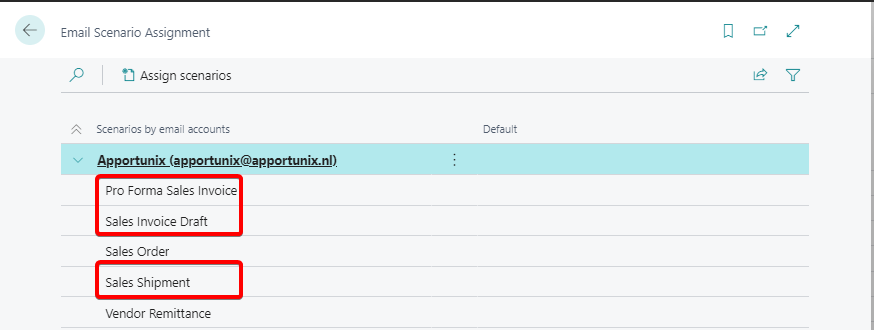
Document Mail Queue adds additional report options to process with the Document Mail Queue.
The added reports options are
- Posted Sales Shipment
- Sales Invoice Draft
- Pro Forma Sales Invoice
Included are a Usage option in the Doc. Mail Queue Sending Profile and Email Scenario Assignments.
You can add these reports manually to the Document Mail Queue from the corresponding pages:
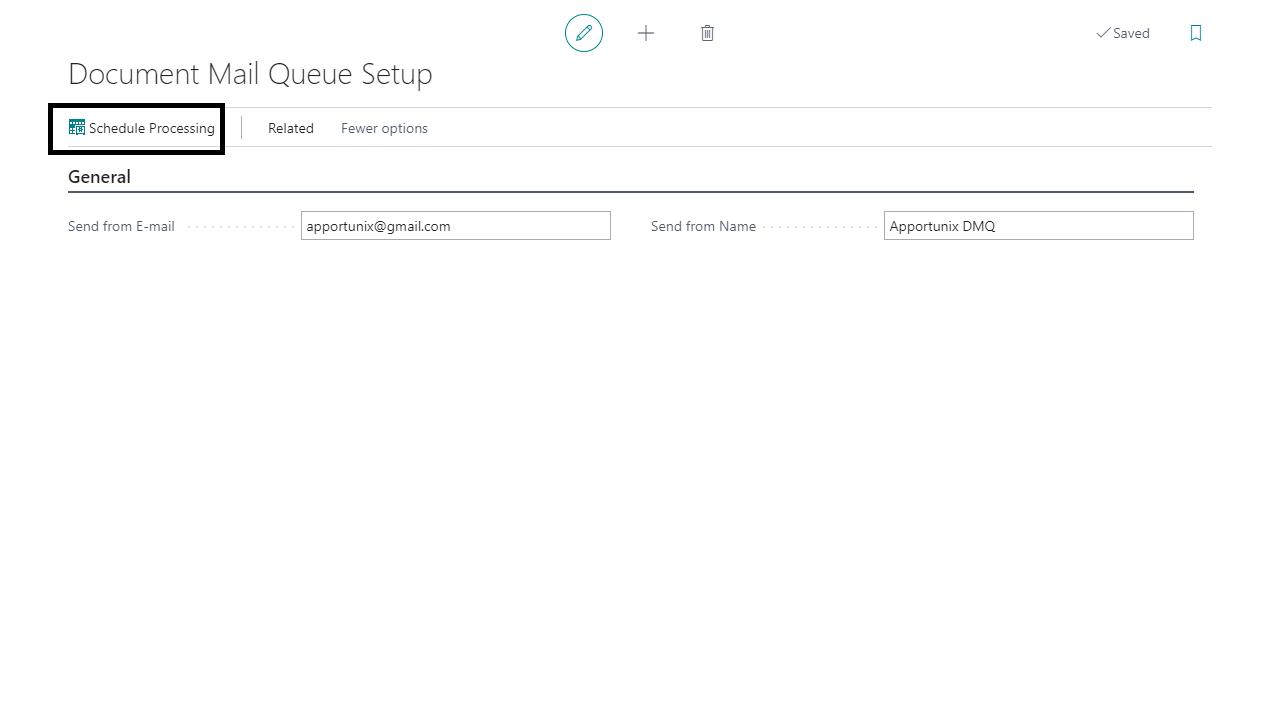
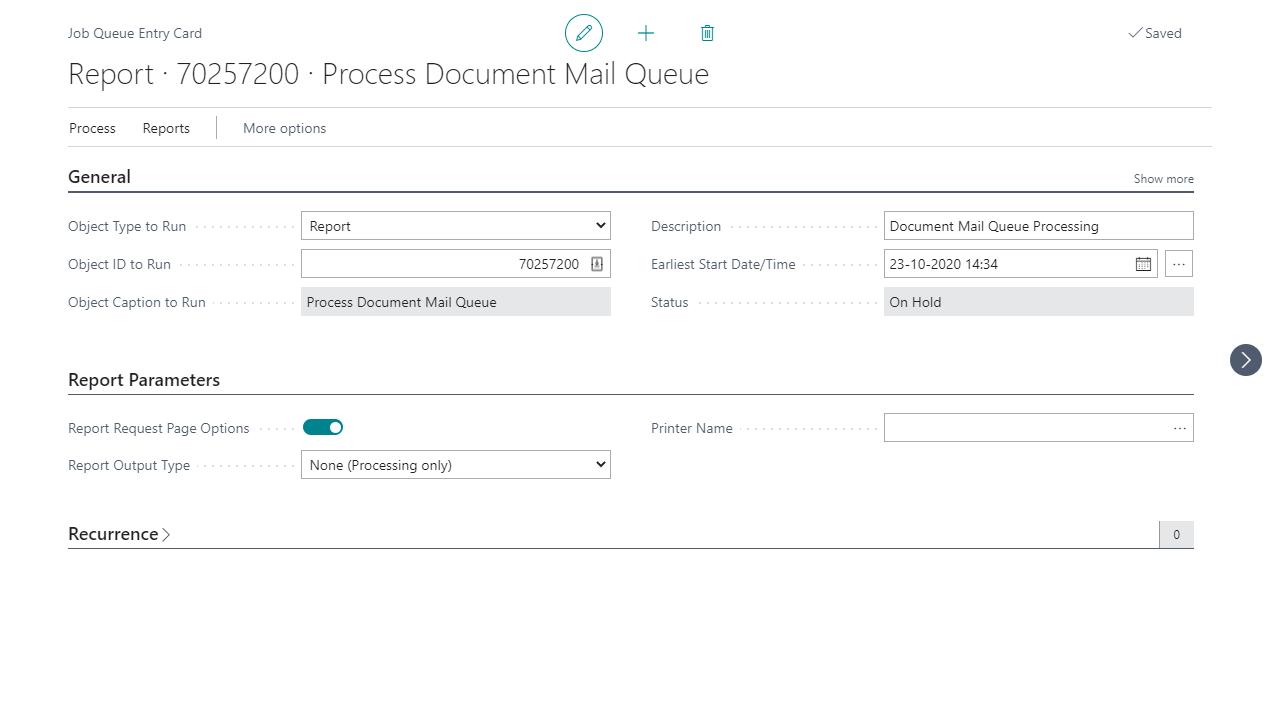
Process Document Mail Queue with Job Queue
Document Mail Queue has a default configuration to enable the processing of the Document Mail Queue with the use of the Job Queue.
-
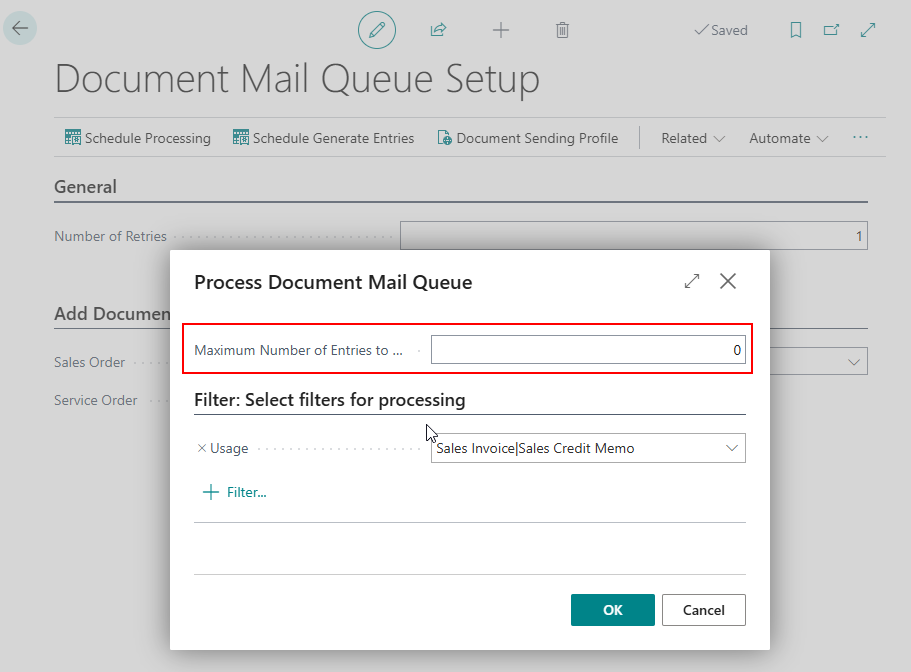
Click the Schedule Processing from the ribbon in the Document Mail Queue Setup
-
Fill in a quantity in the Maximum Number of Entries to Process field. This field is to determine how many mails are being sent per batch. You can throttle the mail batch size with this setting to prevent blacklisting. If you don't fill in anything (fill in 0), no throttling is active.
-
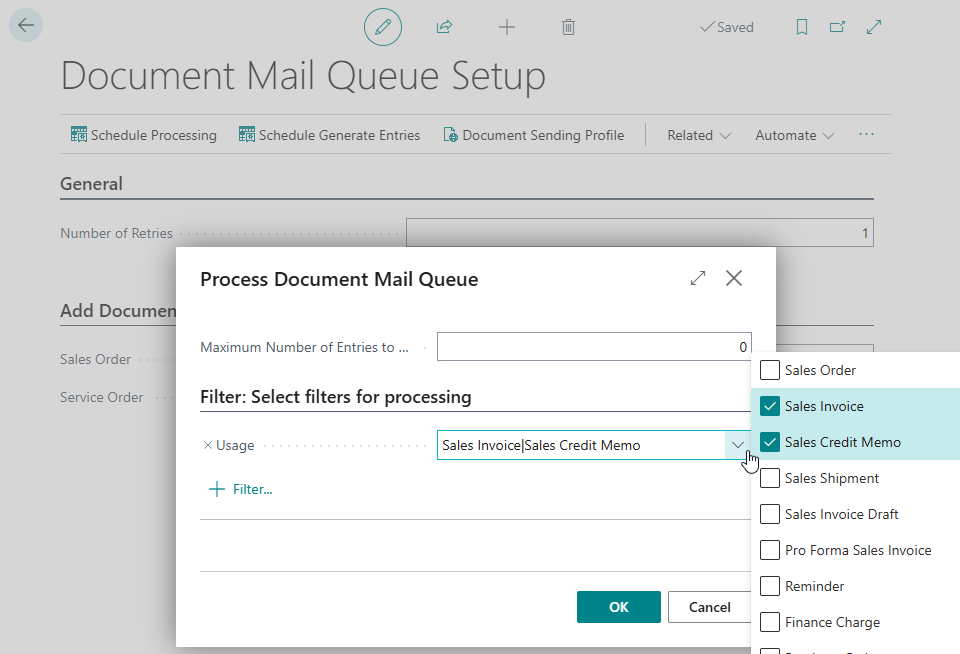
Select for which Usage you want to enable the Job Queue. This step can be repeated for a different set-up per usage
-
Complete the Job Queue Entry Card and set the status of the Job Queue Entry Card to Ready For more details about configuring the Job Queue see the relevant link in the Business Central Setup.
Business Central Setup
Skip Generating Entries when Posting documents
By default, the Document Mail Queue Entry of a posted document is being created when you post for example a sales invoice (and the Document Sending Profile has the right settings for using Document Mail Queue). If you don't want to create a entry when posting a document you can setup the boolean Skip Queue on Post in the Document Mail Queue Setup.
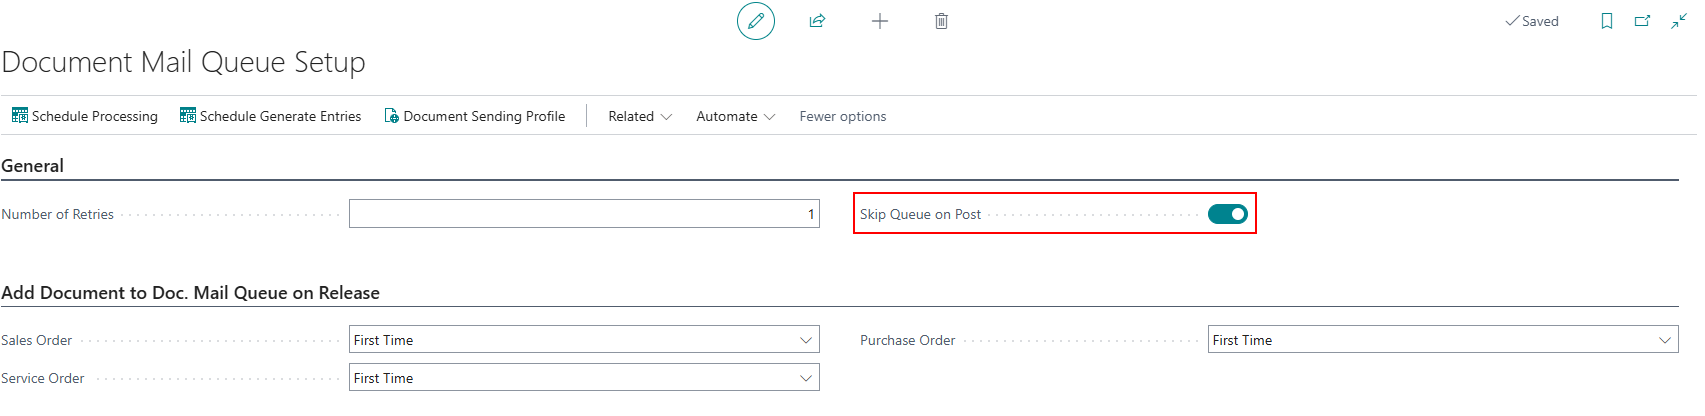
When this boolean is enabled, the system doesn't create a record straight away but you need to create it using the batch report Generate Document Mail Queue Entries, for example via the job queue in Business Central.
Note
When you have a new installation of Document Mail Queue in an environment where several posted documents are yet in the system, the first time you run the Generate Document Mail Queue Entries batch, the system creates entries of invoices that already have been sent. Therefore it is recommended to do the first batch run manually so you can cancel the document that already have been sent via the Document Mail Queue page.
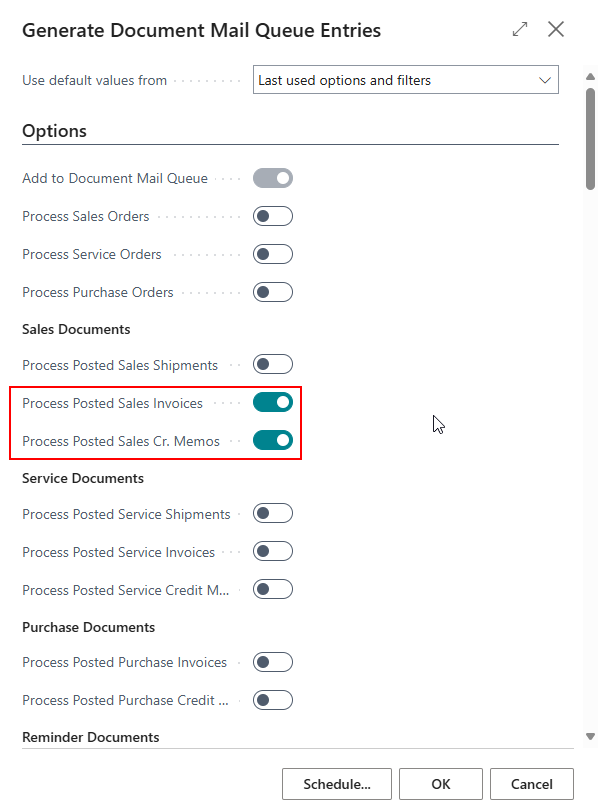
Generate Document Mail Queue Entries
You can use the batch Generate Doc. Mail Queue Entries to add one or more documents to the Document Mail Queue. This can be used to generate entries for Purchase and Sales Orders or for already posted documents.

Delete Document Mail Queue Entries
With report 70257202 Delete Doc. Mail Queue Entries you can delete Document Mail Queue Entries. This can be used to delete old Document Mail Queue Entries to free storage or improve the page performance.
Configure Delete table data before DateFormula with a negative date formula to set the date in reference to the Work Date as the maximum date for the deletion process. All entries before this date will be deleted.
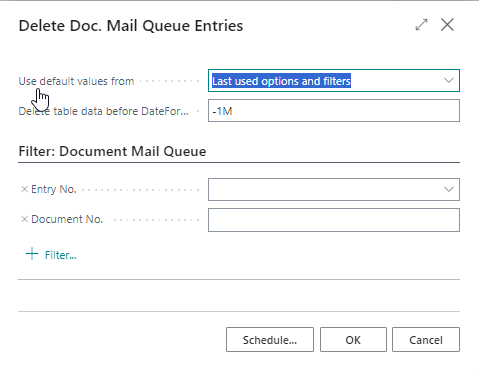
This report can also be configured in a Job Queue Entry.
Note
Only Document Mail Queue Entries with the following Status will be deleted: Send, Cancelled, Send Direct
Circuit Breaker
Circuit breaker is a design pattern used in software development. It is used to detect failures and encapsulates the logic of preventing a failure from constantly recurring, during maintenance, temporary external system failure or unexpected system difficulties. For Document Mail Queue this feature prevents processing and/or sending of Document Mail Queue entries repeatedly which may cause performance issues and/or the unwanted repeated sending of mails.
Both the Number of Retries in combination with Max. Number of Retries reached and Send On fields in the Document Mail Queue are circuit breakers for the Document Mail Queue and will prevent the entry from processing again.
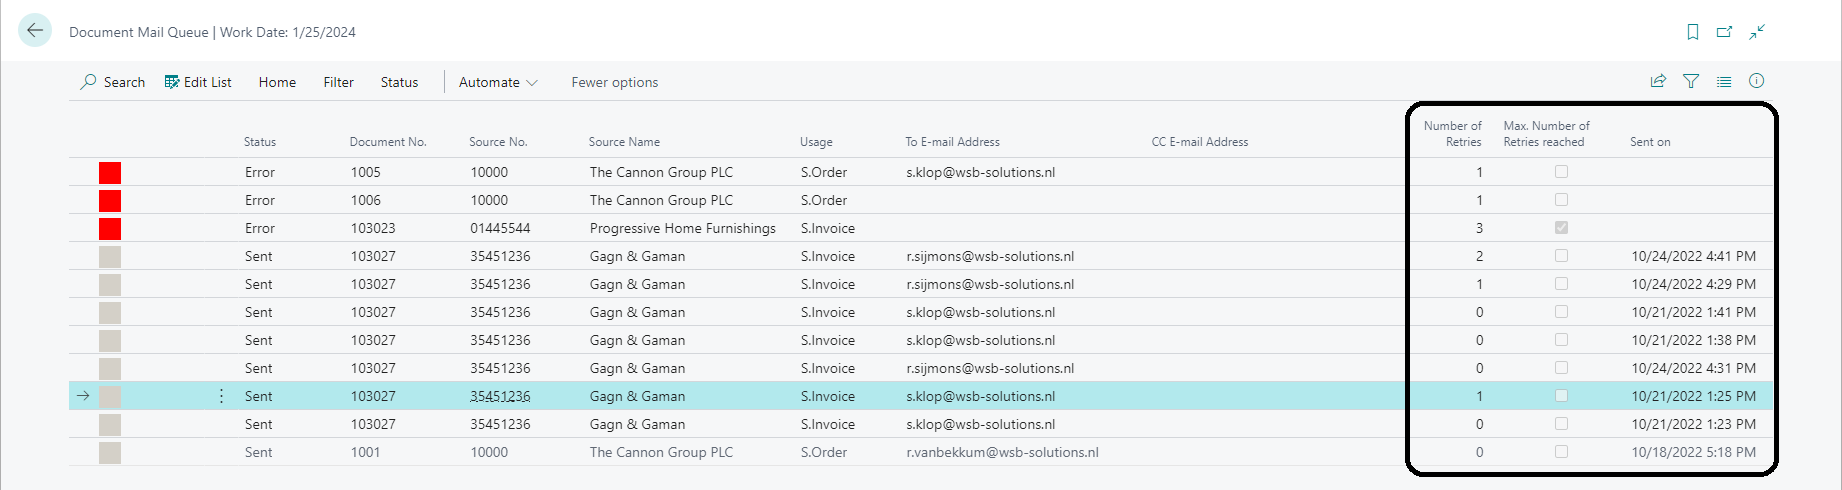
Number of Retries & Max. Number of Retries reached
If the Number of Retries of the Document Mail Queue entry is equal (or larger) then the Number of Retries in the Document Mail Queue Setup the entry won’t be processed. This is also indicated by the Max. Number of Retries reached
The Number of Retries is set up in the Document Mail Queue Settings.
The Number of Retries in the entry is updated after every retry (processing of an entry where the Status = Error).
Sent on
If an entry is sent to the mail handler, it will fill the date/time of Sent on. It can happen that the Document Mail Queue will fail after this process. By example due to features of a PTE or other apps. The entry won’t be processed again when the Sent On is filled in.
Note
When changing Status of entry to New; the fields Sent On/By and Number of Retries are cleared.
Configurable predefined report options
Standard Business Central allows you to set predefined report options and save them in Business Central so you can pick them up when the request page shows when you call the report.
This feature allows you to save and use predefined Report Settings on
- Report Selection Level
- Customer/Vendor-Specific Report Selections Level
If not set at Report Selection level it will use the default Report Selection. Otherwise, Customer-/Vendor-Specific Report Selection, then Report Selection.
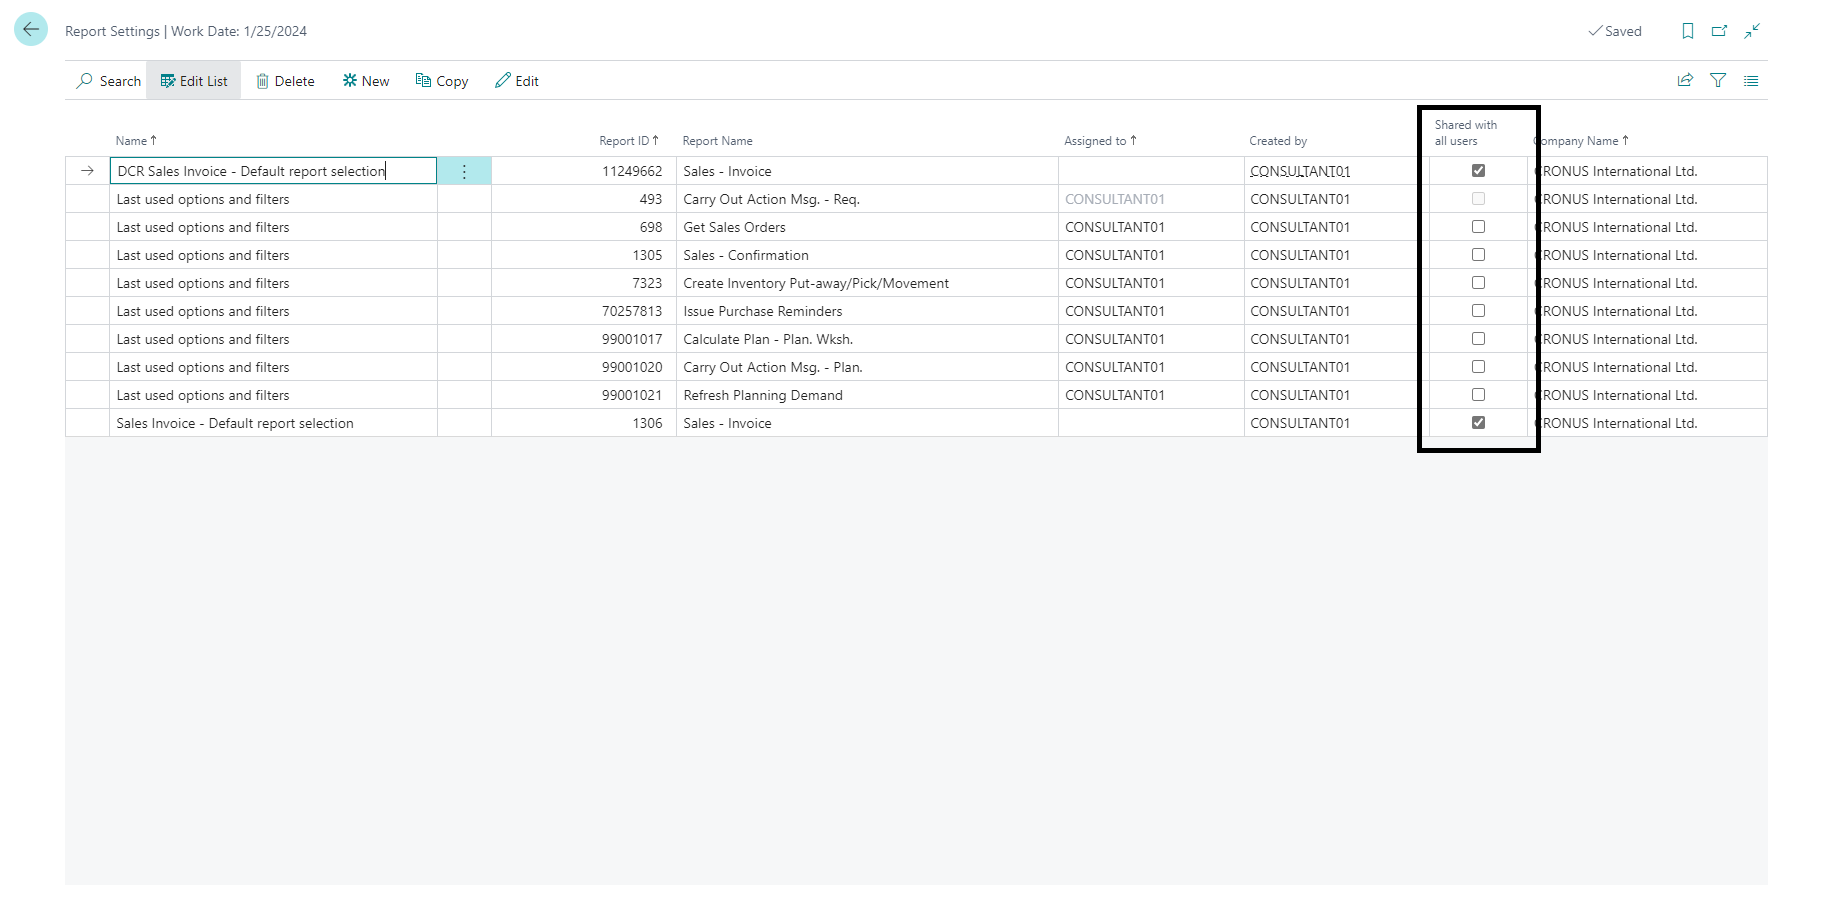
Your Report Settings should be available to all users. You can save personal Report Settings but these won’t be used when using Document Mail Queue or standard Business Central e-mail.
Report Settings
Create a Report Setting and set the Shared with all users boolean to True: for example on Sales Invoice
Note
Some options can't be modified, because they are modified by Request Page Triggers like No. of Copies
Report Selections
When you have made some configurations, you can add the Report Parameter Name of your configuration to Report Selections. For example, to Report Selections - Sales: Usage Invoice:
These Report Options will then be taken as default for this report.
If you want to define it on Customer or Vendor level you can do this in Customer/Vendor Report Selections. For example, go to Customer | Related | Customer | Document Layouts.
If there is no customer-/vendor-specific report selection, Document Mail Queue will take the Report Selections setting and if that one isn't found the default Request Page Option Settings of the report will be used.
Note
You can only set this for 8 documents on Customer, and 4 for Vendor.
Usage
The functionality works for Document Mail Queue entries and standard Business Central email function.
The Report Attachment in the mail uses the pre-defined Report Settings.
Note
If you use the same Report ID with another Sequence the first record found will be used.
Email Processing Improvements in Document Mail Queue
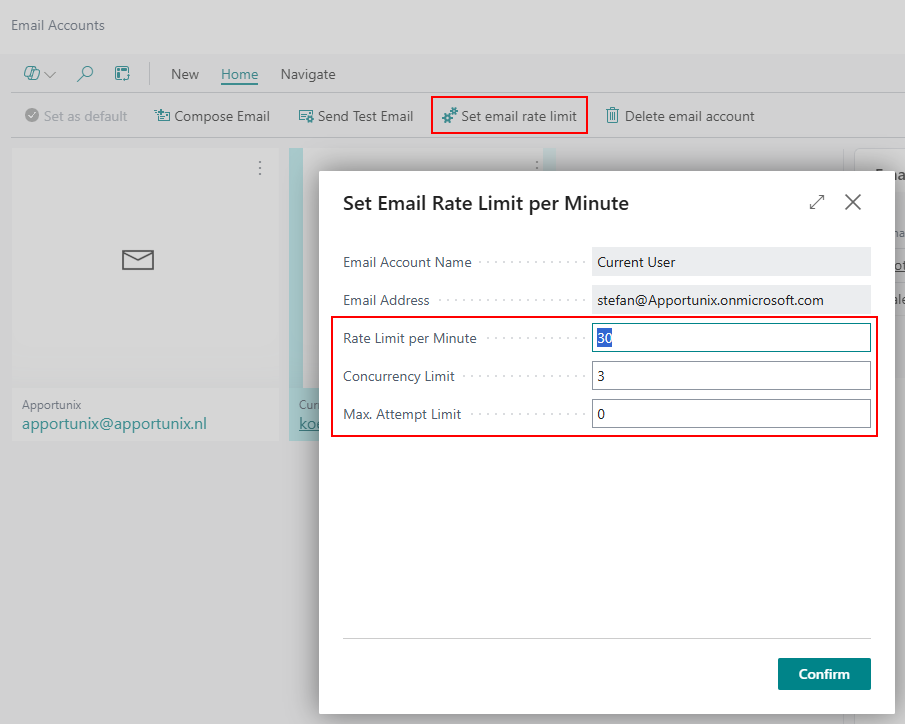
Document Mail Queue now applies an email frequency limit to the email account used for sending messages. When this limit is reached, Business Central delays the email in the background. As a result, DMQ may display an error, even though the email is still successfully sent a few seconds later. This situation can occur when sending emails with large or multiple attachments, which slows down processing on Exchange.
Recent improvements ensure that DMQ handles this scenario more intelligently:
If you attempt to process the queue again, DMQ will detect whether the email was already sent and will not resend it.
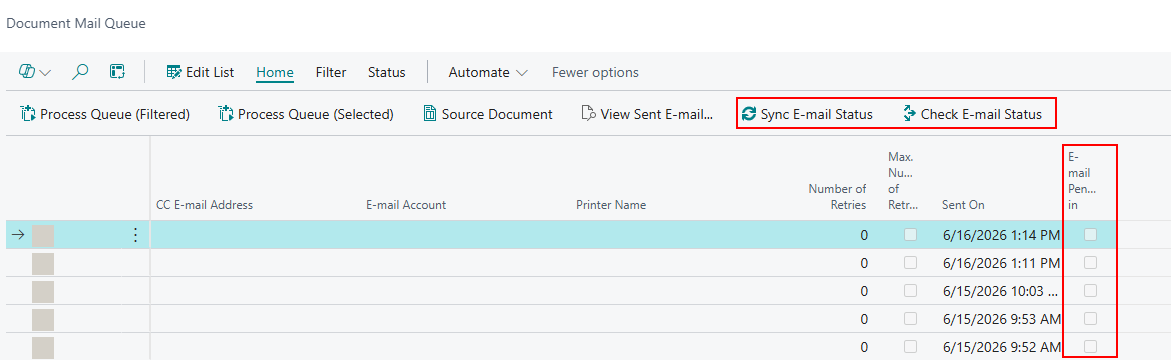
Email Status Synchronization
New actions have been added to allow you to check and synchronize the email status. This synchronization also occurs automatically during each processing cycle.
If it turns out that the email was already sent, DMQ will update the record accordingly.
A new field has also been introduced to indicate that an email is still being processed.
Note
These optimizations apply only to email processing, not to printing.
Developer information
If another app adds a usage to the Report Selection Usage enum and to make it work with a pre-defined Report Setting then the app should subscribe to the WSB_DMQEventPublishers event publisher:
wlEvpOnBeforeGetSourceTableIDAndSourceNoForCustomReportSettings(pDocumentRecRelatedVar, vSourceTableID, vSourceNo, vIsHandled);
procedure OnBeforeGetSourceTableIDAndSourceNoForReportSettings(pDocumentRecRelatedVar: Variant; var vSourceTableID: Integer; var vSourceNo: Code[20]; var vIsHandled: Boolean)
var
    DataTypeMgt: Codeunit "Data Type Management";
    RecordRefSourceDoc: RecordRef;
    FieldRefSourceDoc: FieldRef;
begin
    if not DataTypeMgt.GetRecordRef(pRecRelatedVariant, wlRecRef) then
        exit;

    case RecordRefSourceDoc.Number of
        Database::YourTable::
            begin
                vSourceTableID := ...; // Database::Vendor or Database::Customer;

                // Retrieve the Buy-from or Pay-to Vendor No. or Bill-to or Sell-to Customer No Field Value
                FieldRefSourceDoc := ...;
                vSourceNo := FieldRefSourceDoc.Value;

                vIsHandled := true;
        end;
    end;
end;