Setup & Usage
This chapter provides details about how to set up and use the functionality of this extension and will present several examples and scenarios to demonstrate the functionalities. A basic understanding of how to work with Microsoft Dynamics 365 Business Central is presumed.
Business Central Setup
Document Mail Queue uses standard Business Central functionality. These features are listed below with the documentation link of Microsoft to assist you with the setup.
- Customers
- Sales Invoices (for this instruction)
- Set Up Email (Enhanced email capabilities)
- Document Sending Profiles
- Report Layout Selection
- E-mail Body Layout
Quick Setup
Document Mail Queue Setup
To set up and configure Apportunix Document Mail Queue use the Tell Me search feature (Alt+Q, or click on the ‑icon in the top right corner) to search for and open the Document Mail Queue Setup page.
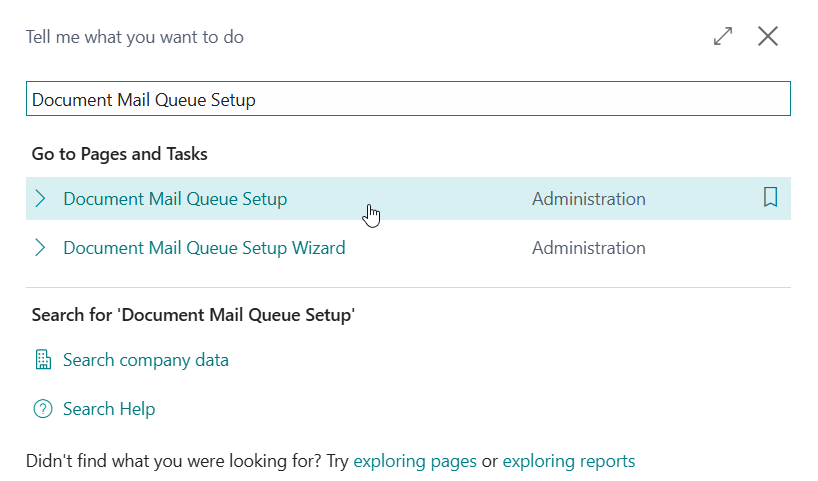
Set up the following settings in the Document Mail Queue Setup page to your preferences:
-
Number of Retries: Set up the max. Number of Retries of processing an entry
-
Sales Order
- Always: Always add Sales Orders to the Document Mail Queue whenever they are released
- First Time: Only add Sales Orders to the Document Mail Queue the first time they are released
- Never: Never automatically add Sales Orders to the Document Mail Queue
-
Purchase Order
- Always: Always add Purchase Orders to the Document Mail Queue whenever they are released
- First Time: Only add Purchase Orders to the Document Mail Queue the first time they are released
- Never: Never automatically add Purchase Orders to the Document Mail Queue
Set up the Email Accounts and provide a default or define the use per scenario if you are using the Enhanced email capabilities in the Email Scenario Assignment.
Set up Doc. Mail Queue Status Pictures
-
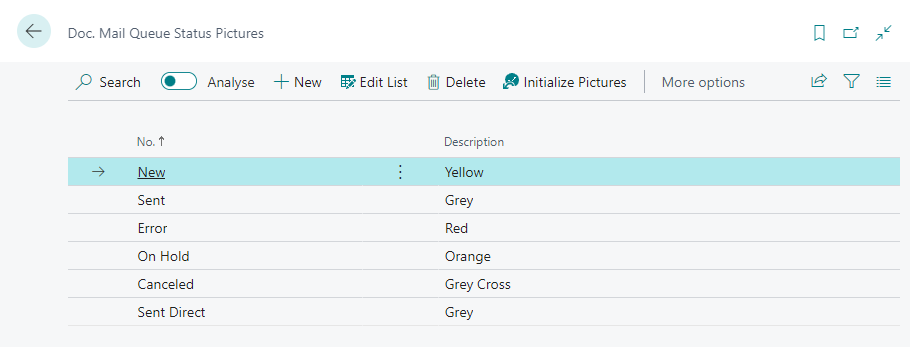
Use the Tell Me search feature (Alt+Q, or click on the ‑icon in the top right corner) to search for and open the Document Mail Queue Status Pictures page.
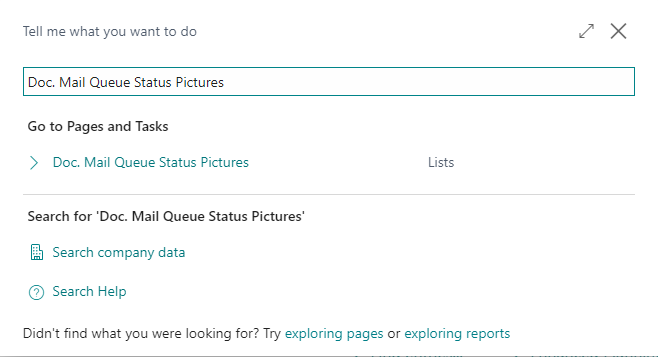
-
You can initialize/reset the status pictures to the defaults by invoking the Initialize Pictures action.
Set up Document Sending Profile
-
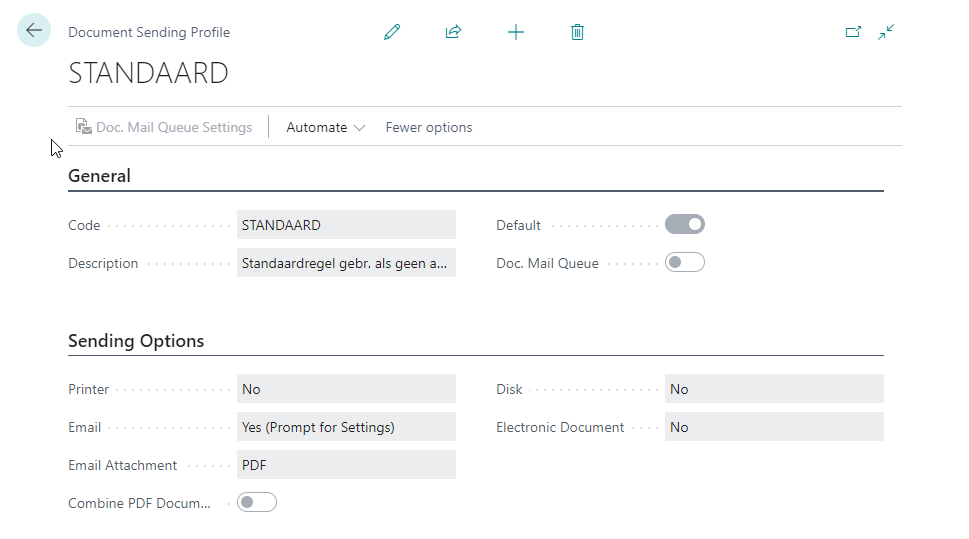
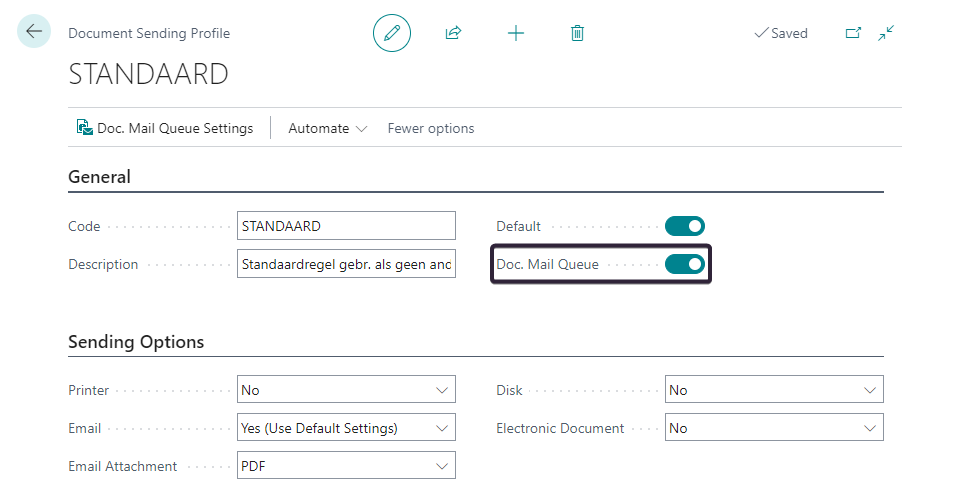
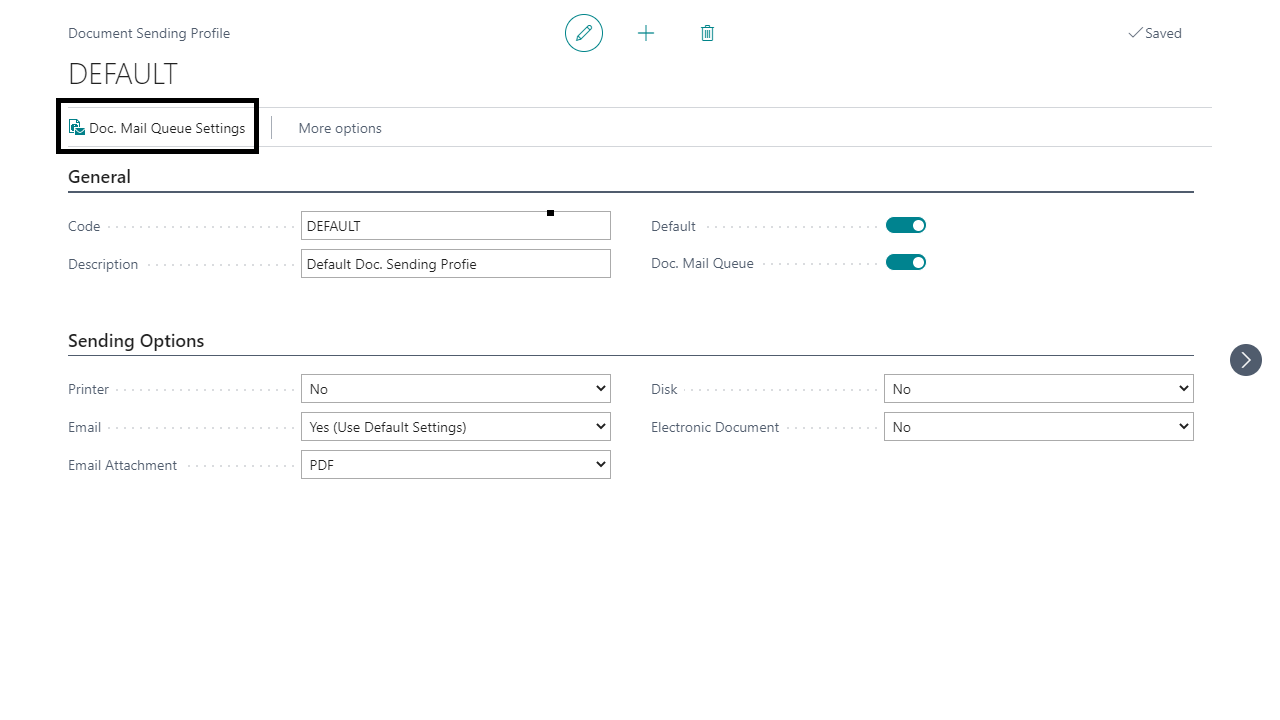
Open the (default) Document Sending Profile
-
Enable the Document Mail Queue setting
-
Invoke the Document Mail Queue Settings action from the ribbon
-
Insert a new line and fill in the required fields
-
Usage: For which document type the Document Mail Queue is used. Options are: Sales Invoice; Sales Credit Memo; Purchase Invoice; Purchase Credit Memo; Reminder; Financial Charge; Service Invoice; Service Credit Memo
-
Output Format: Define the output format for the selected usage. Here you can define the following options: Mail with PDF (a mail with a PDF attachment is being sent), Mail with PDF and Electronic Document (a mail with a PDF attachment and a electronic document like PEPPOL is being sent, the electronic document follows the default Microsoft functionality), Mail with Electronic Document (a mail with a electronic document like PEPPOL is being sent, the eletronic document follows the default Microsoft functionality), Print (the document is being printed to a printer using the default document printing functionality in Business Central)
-
Default BCC Email: All generated e-mails will have this e-mail address as BCC-recipient. This allows you to keep a copy of the sent e-mail in a generic e-mail inbox
-
Add all attachments of Source document: Add all the attachments of the source document to the e-mail
-
Document as PDF Document: Add the document as PDF attachment to the e-mail
-
Name of PDF Attachment: Open the record by clicking on the _ and fill the required fields as explained in the set-up Document Replacements.
-
E-mail subject: Open the record by clicking on the _ and fill the required fields as explained in the set-up Document Replacements.
-
Default Attachment File Name: Allows you to add a default attachment to the e-mail for example a "Sales Conditions"-document You can set up a default attachment per language code. When no language code is filled this record will be used if no language code is filled in the document or not set up in the Default Attachments.
-
Check Document Amount Threshold: Sets the status of a Document Mail Queue entry to On Hold when the document amount LCT is below the Document Amount LCT Threshold. Only applies to Sales Invoices and Sales Cr. Memo documents.
-
Document Amount Threshold: Sets the status of a Document Mail Queue entry to On Hold when the total document amount LCT is below this setting. Only applies to Sales Invoice and Sales Cr. Memo documents.
-
E-mail Account: Here it's possible to select a mail account from the default Email Accounts in BC as a sender. This overrules the mail scenario's. The default setting is Default E-mail Scenarios. This setting can be used when you have multiple companies in one BC administration for example.
-
Output Format: Specifies whether to add a PDF-file and/or Electronic Document of the document as attachment to the e-mail. The valid options are:
- Mail with PDF - Documents are sent by e-mail with a PDF attachment only.
- Mail with PDF and Electronic Document - Documents are sent by e-mail with both a PDF attachment and electronic document (e.g., PEPPOL or other supported formats) attachment
- Mail with Electronic Document - Documents are sent by e-mail with an electronic document (e.g., PEPPOL or other supported formats) attachment only
- Print - Documents are printed to a printer using the default document printing functionality in Business Central
-
Electronic Document Format: Specifies how customers are set up with their preferred method of sending Electronic Documents. Only available when the Output Format is Mail with Electronic Document or Mail with PDF and Electronic Document.

-
Set up Document Text Replacements
Text replacements can be used to create dynamics PDF file names and e-mail subjects by specifying text per language with placeholders (of the form %1, %2, etc.).
The available settings are as follows:
-
Language Code: Specifies for which language this text replacement entry is for. When no language code is filled this record will be used if no language code is filled in the document or not set up in the Document Text Replacements.
-
Replacement For - Specifies whether this concerns a text replacement for PDF Attachment Name or for the E-mail Subject.
-
Replacement Text: The text with placeholders (of the form
%1,%2, etc.) for the pdf attachment name or e-mail subject. -
Field 1: This field is system reserved for the Document number. To use Field 1 in the Replacement Text type
%1in the Replacement Text field. -
Field 2: You can select which field from the posted document you want to use in the replacement text. To use Field 2 in the Replacement Text type
%2in the Replacement Text field. -
Field 3: You can select which field from the posted document you want to use in the replacement text. To use Field 3 in the Replacement Text type
%3in the Replacement Text field. -
Field 4: You can select which field from the posted document you want to use in the replacement text. To use Field 4 in the Replacement Text type
%4in the Replacement Text field. -
Field 5: You can select which field from the posted document you want to use in the replacement text. To use Field 5 in the Replacement Text type
%5in the Replacement Text field.